Just to reiterate on the nomenclature:
Sample ROM refers to the memory region used by the EOS samplers for preset and sample data.
Preset ROM refers to the memory region where the P2K preset information is stored. The P2K preset objects contain references to the wave data in the Sample ROM.
Quick Links:
User Interface Overview
For the following screenshots, I imported the P2500 ROM data to showcase the user interface.
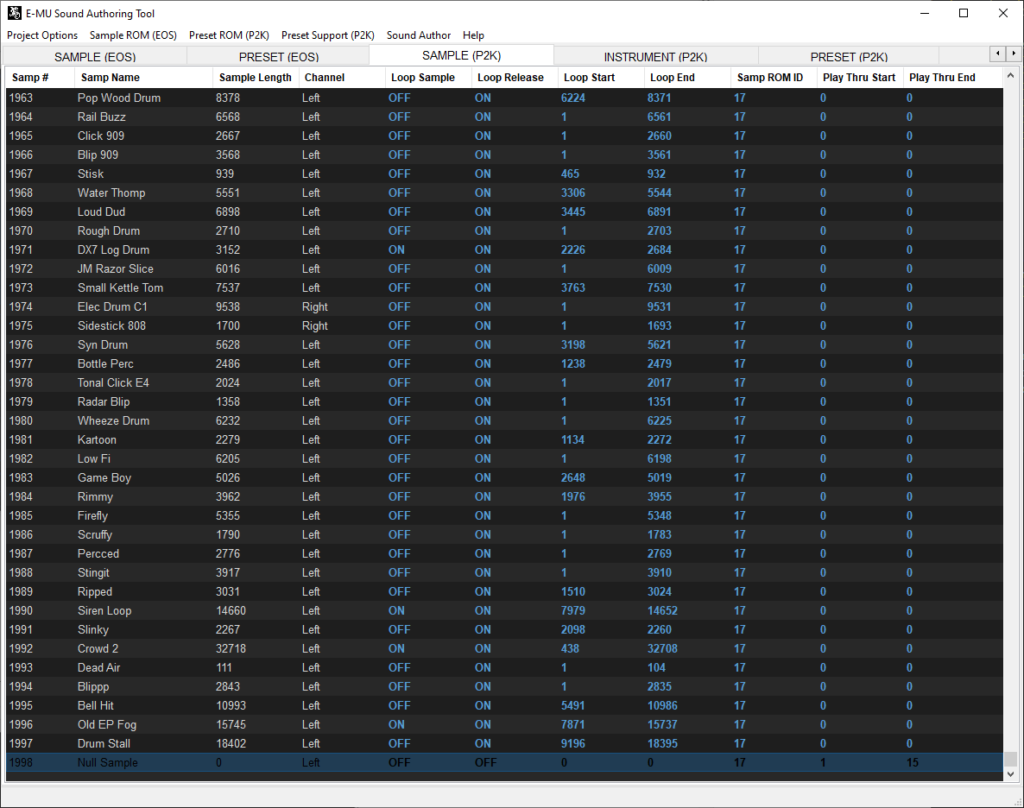
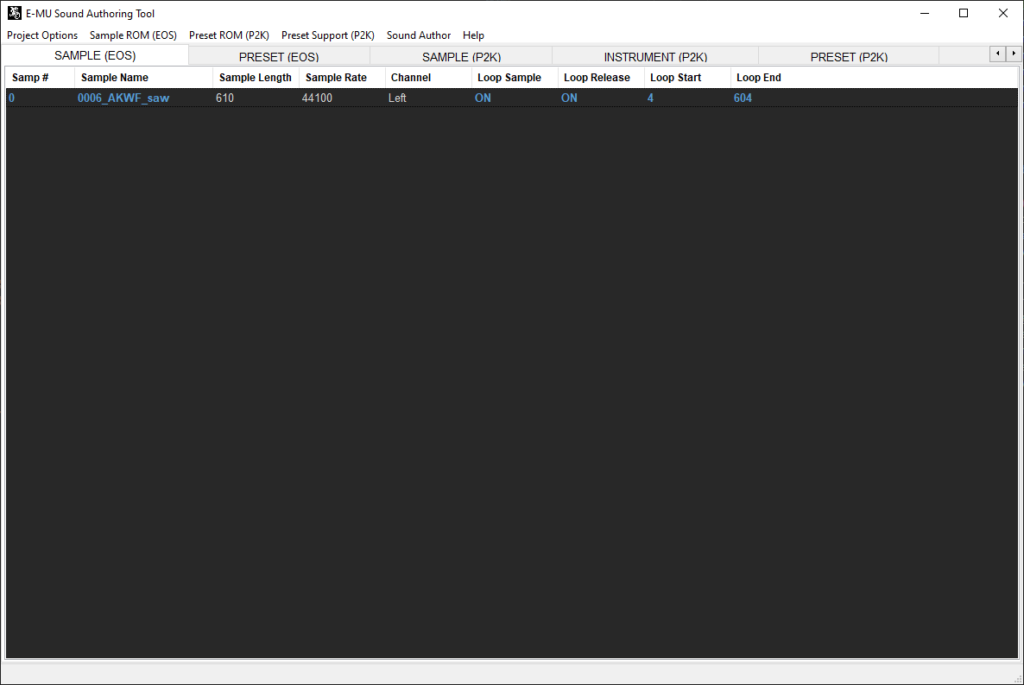
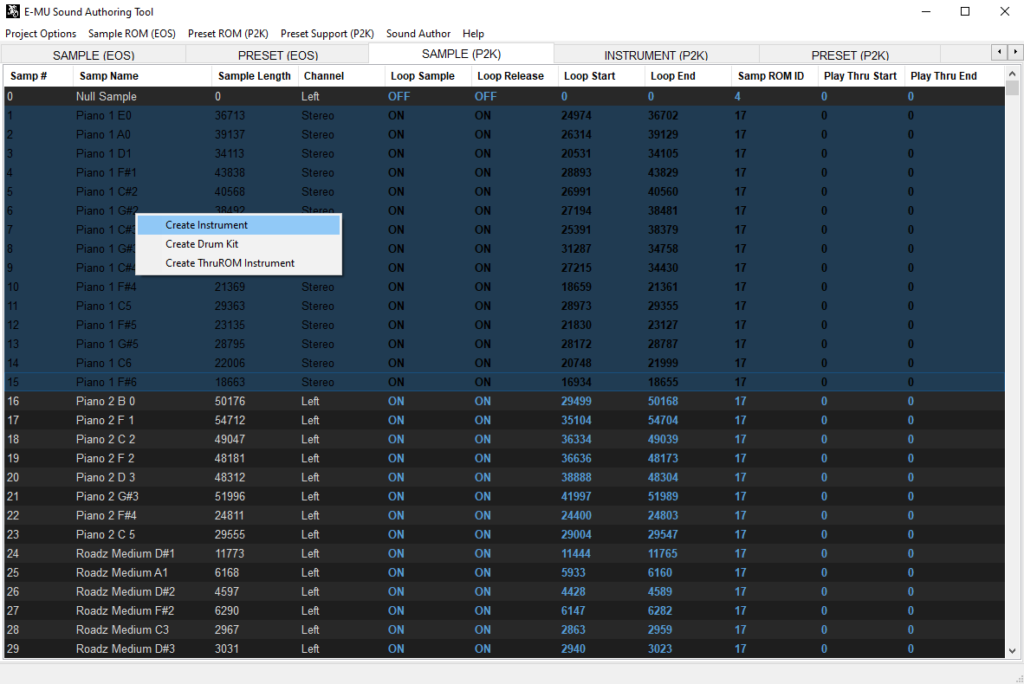
Sample ROM (EOS) – sample object detail

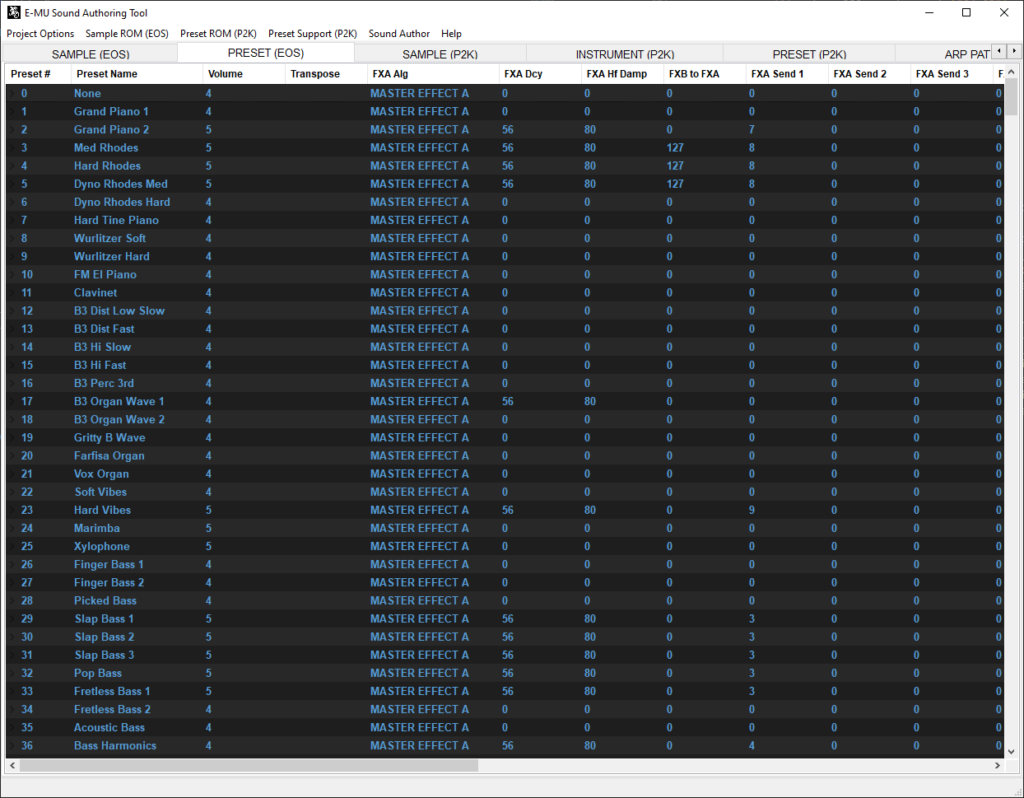
Sample ROM (EOS) – preset object detail
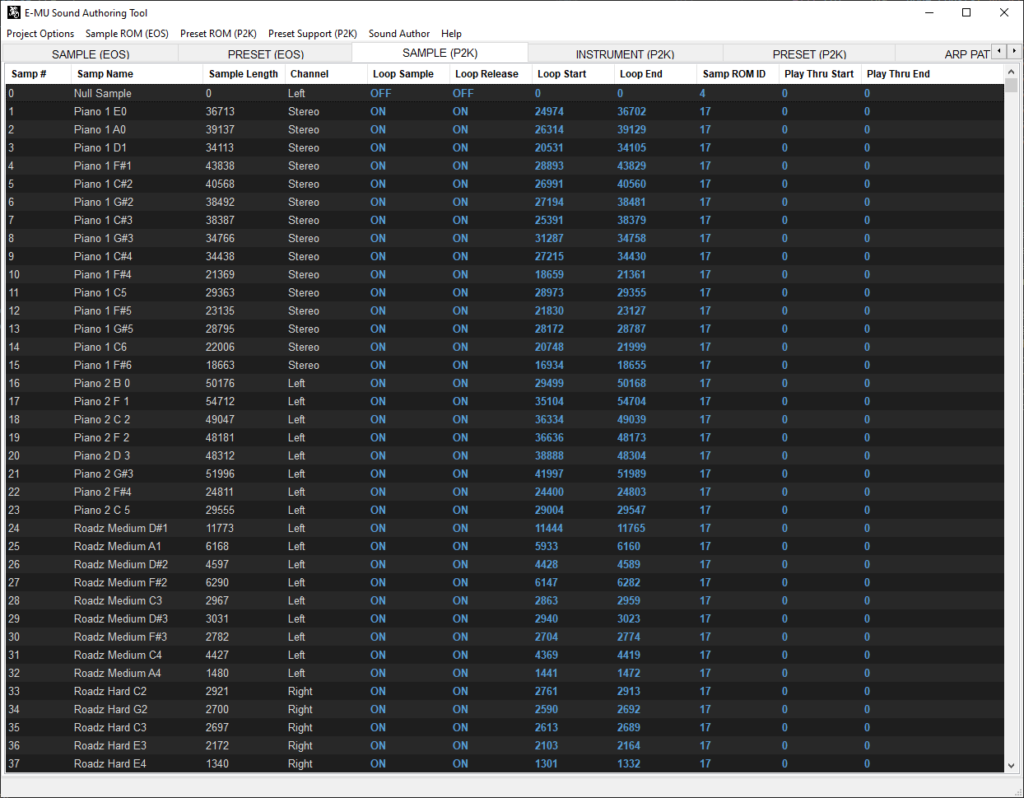
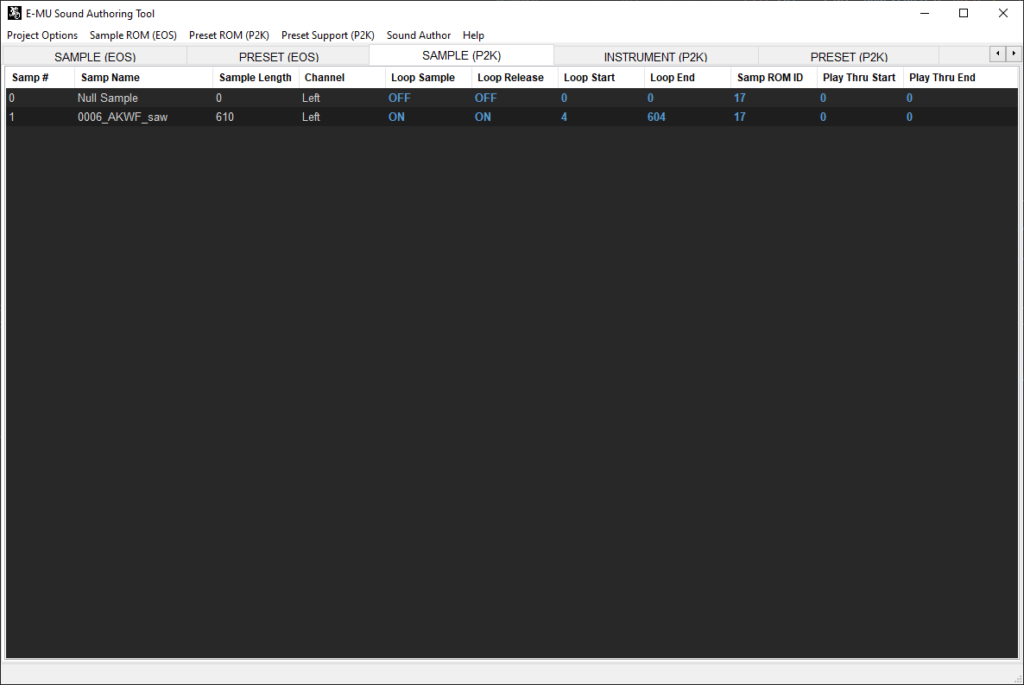
Preset ROM (P2K) – sample object detail
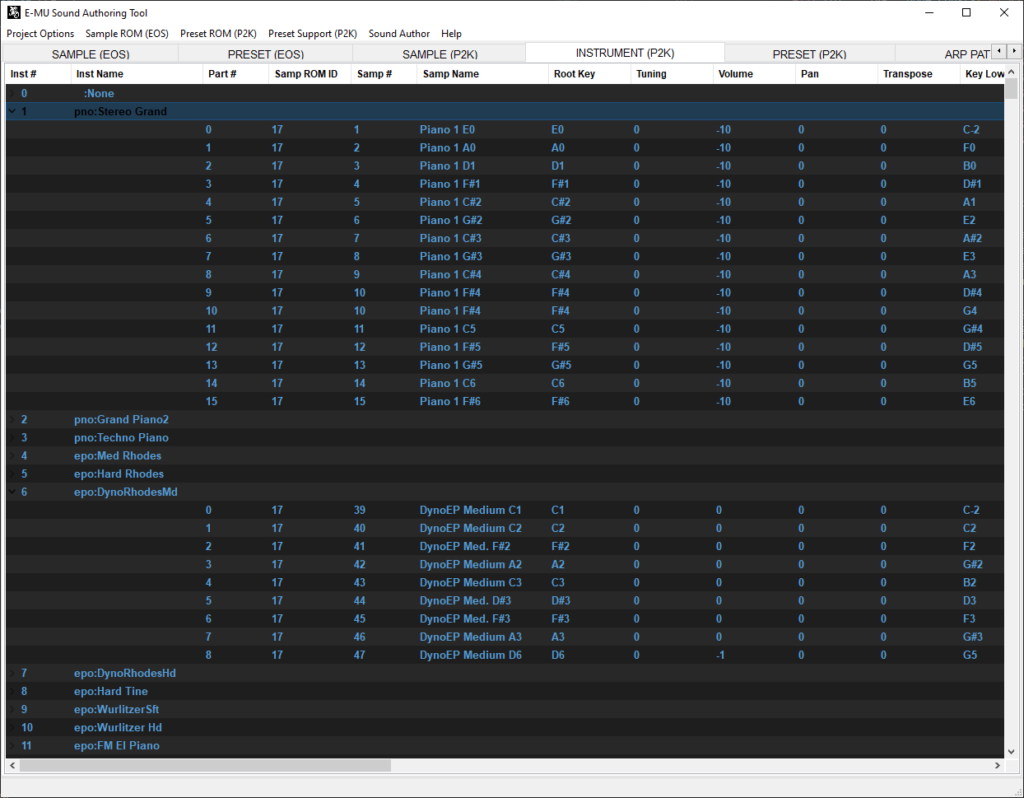
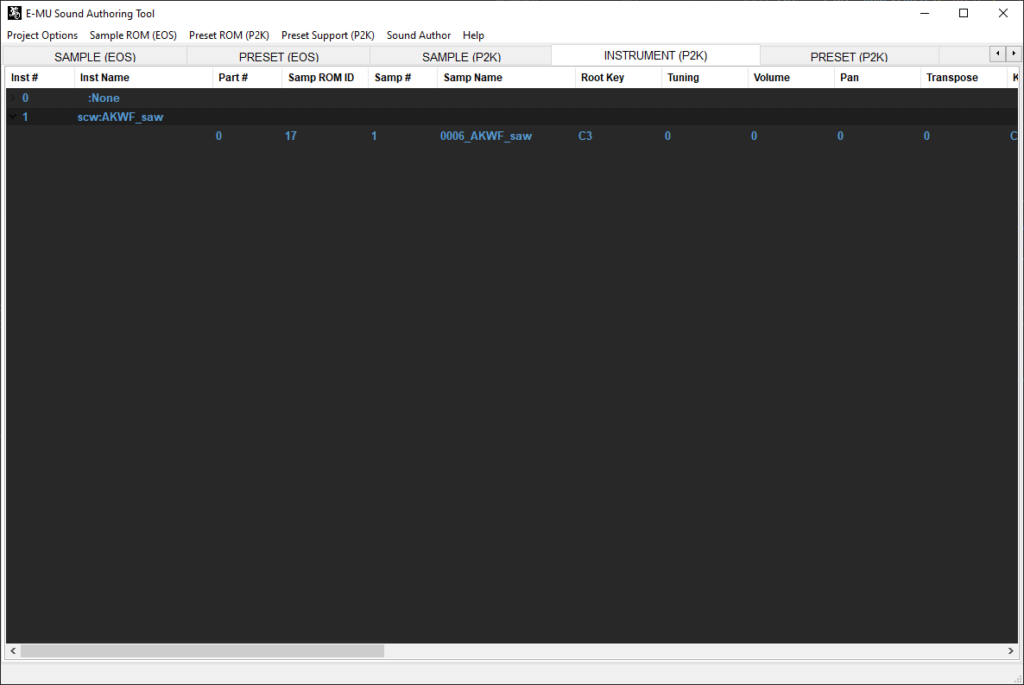
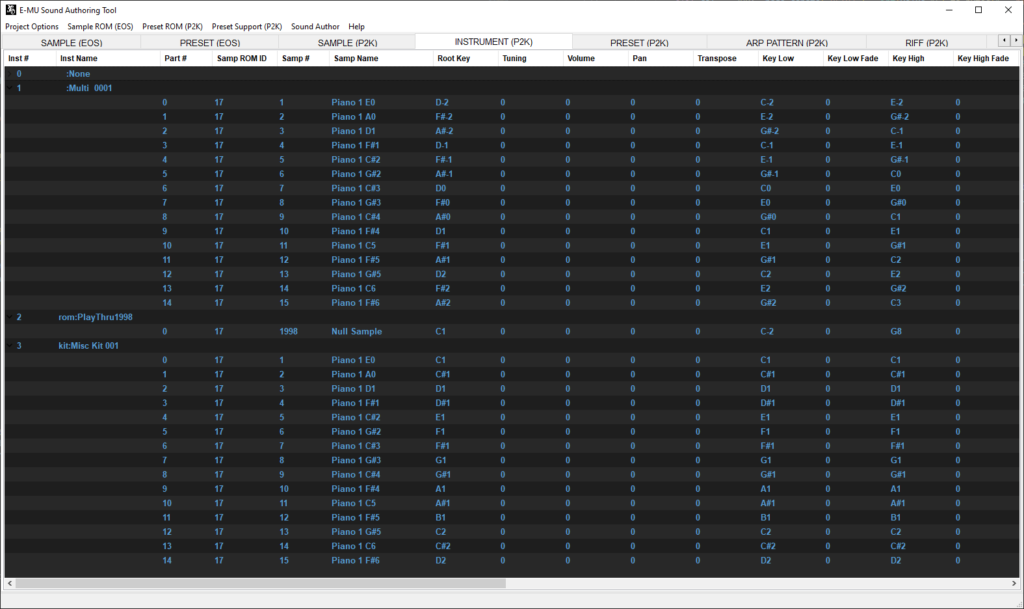
Preset ROM (P2K) – instrument object detail
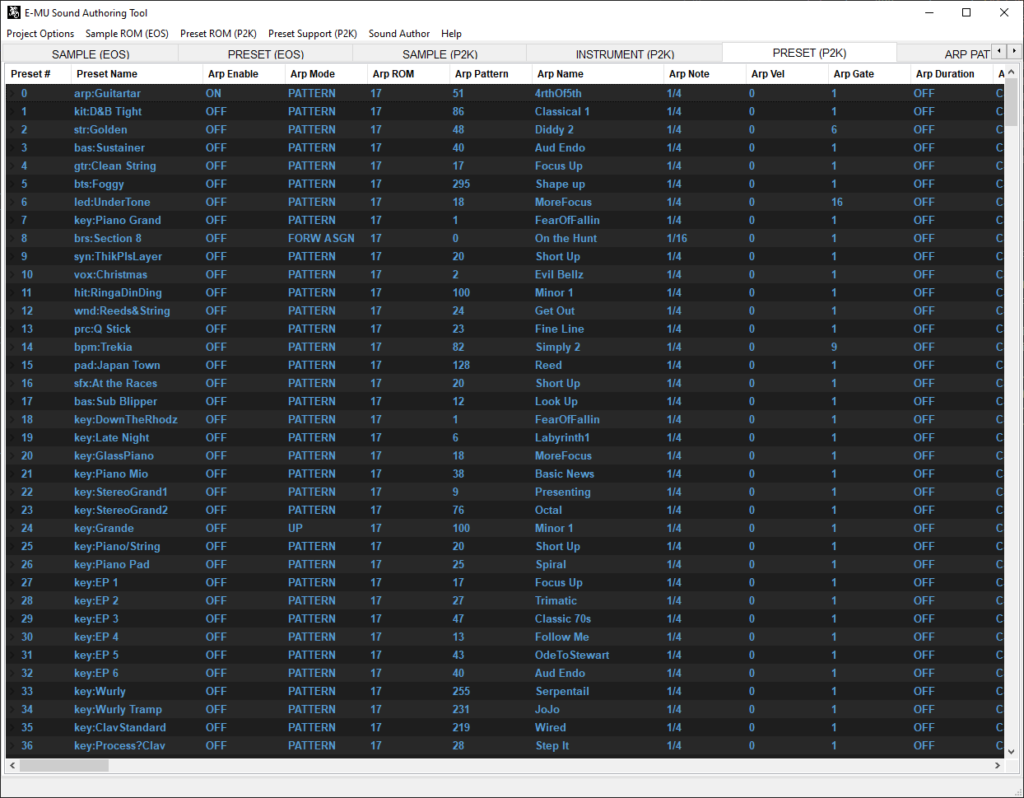
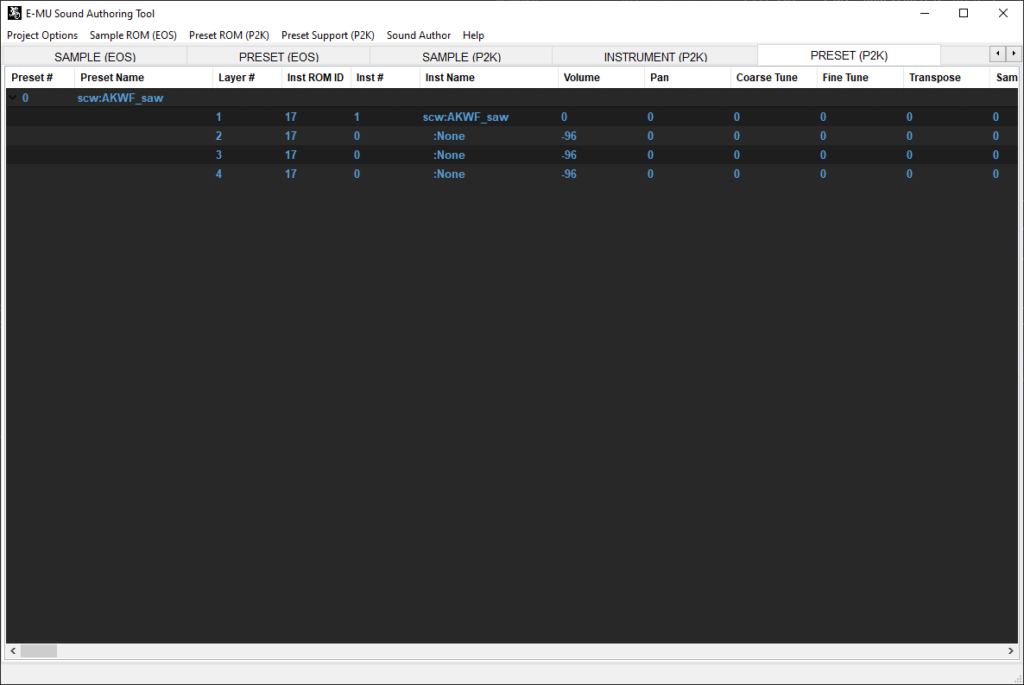
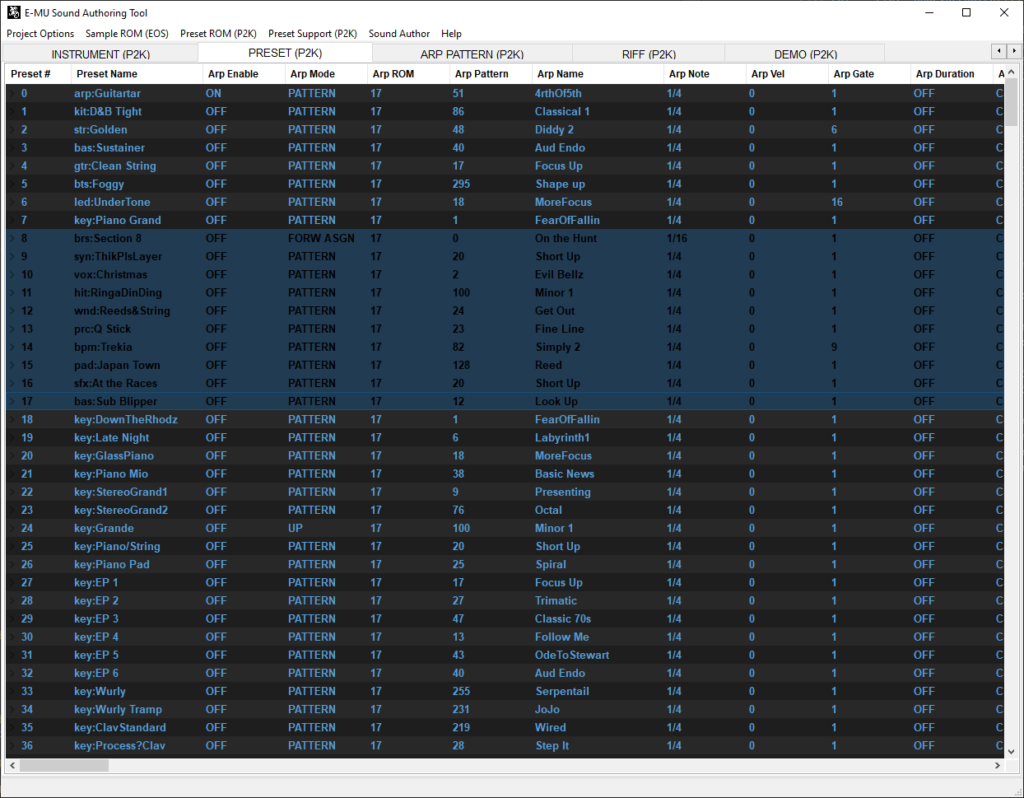
Preset ROM (P2K) – preset object detail
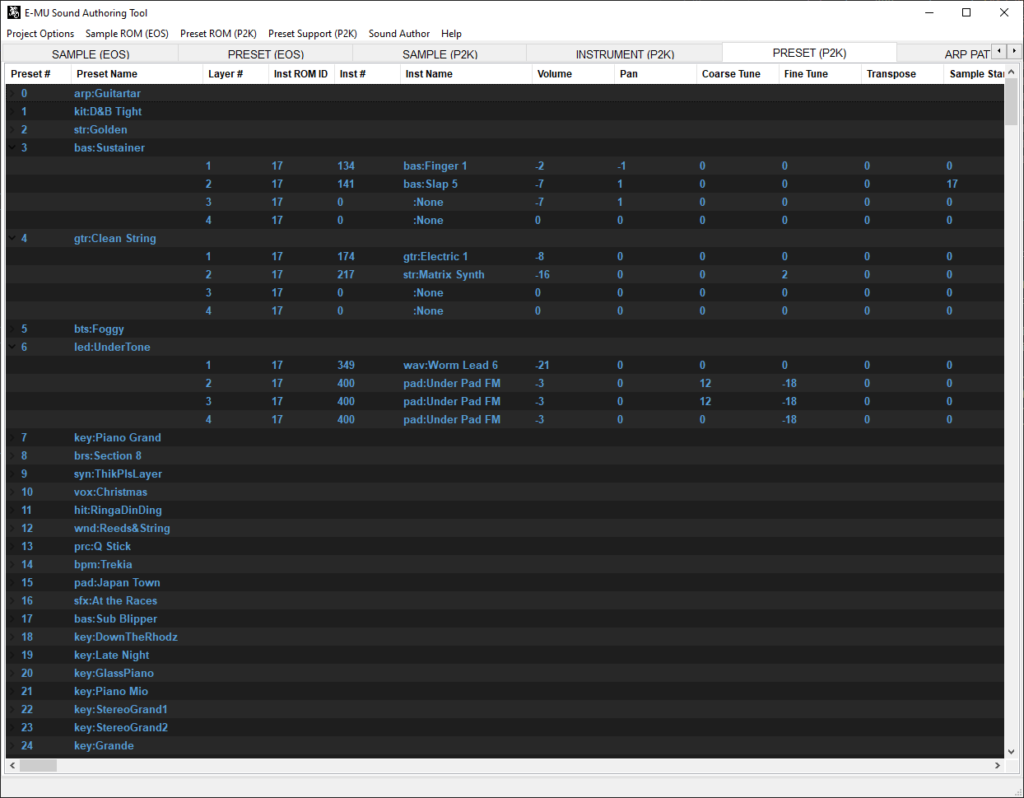
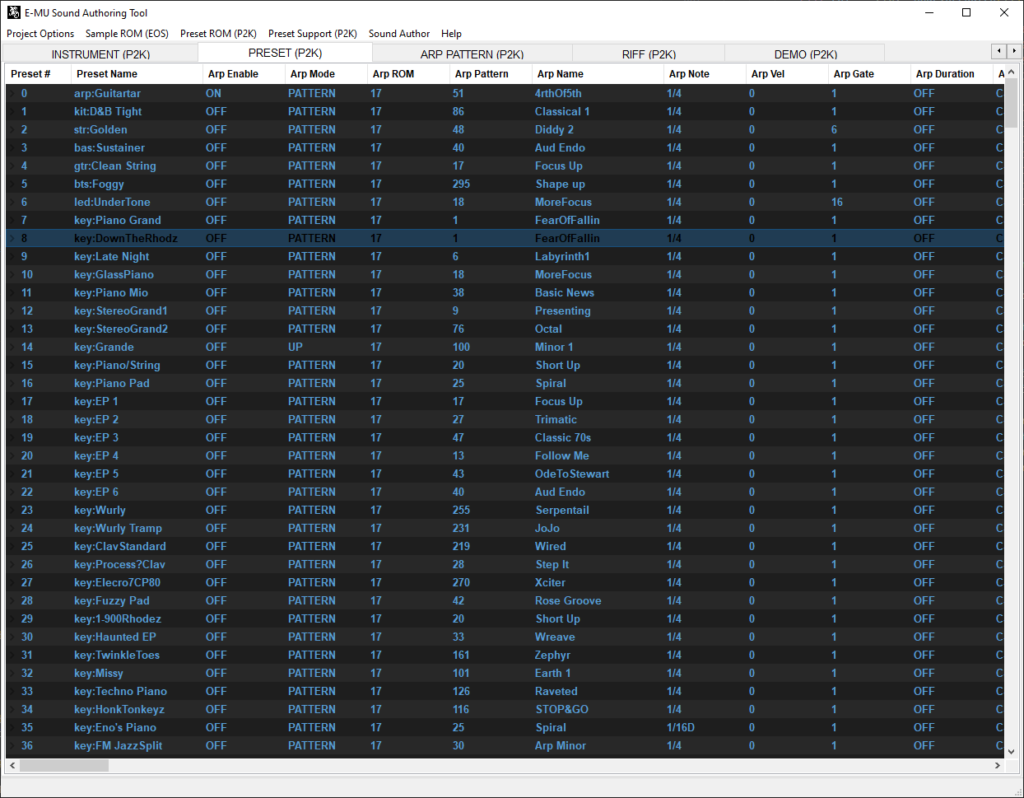
Preset ROM (P2K) – preset object detail (layer view)
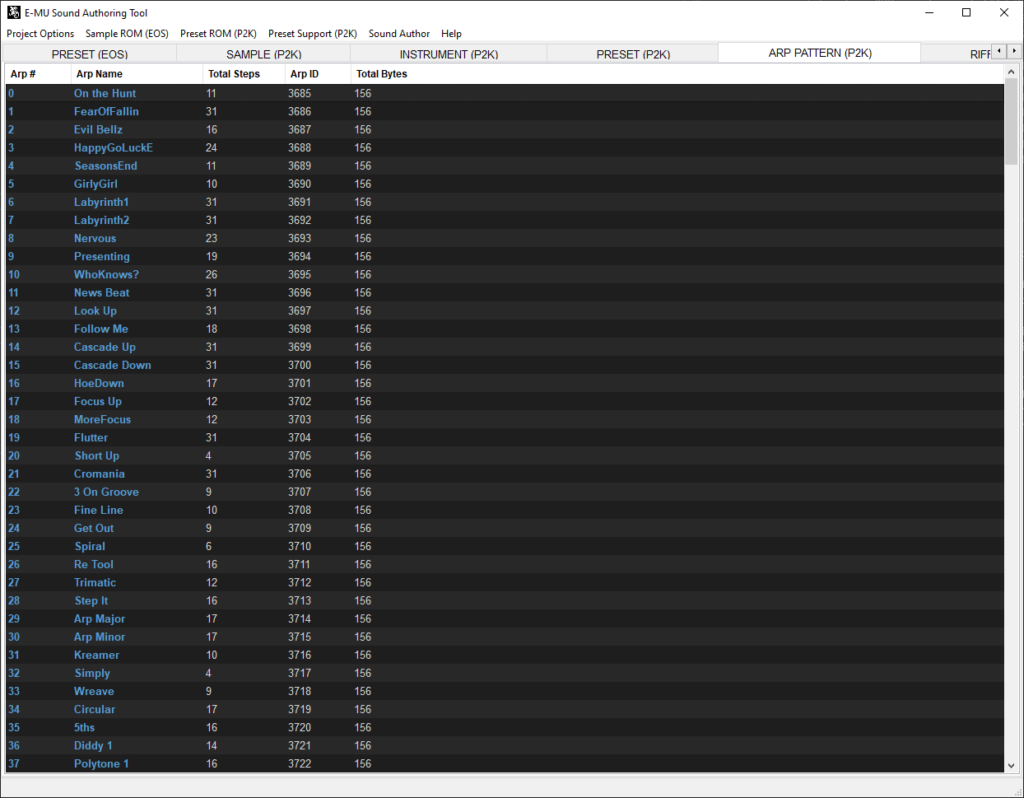
Preset ROM (P2K) – arpeggiator object detail
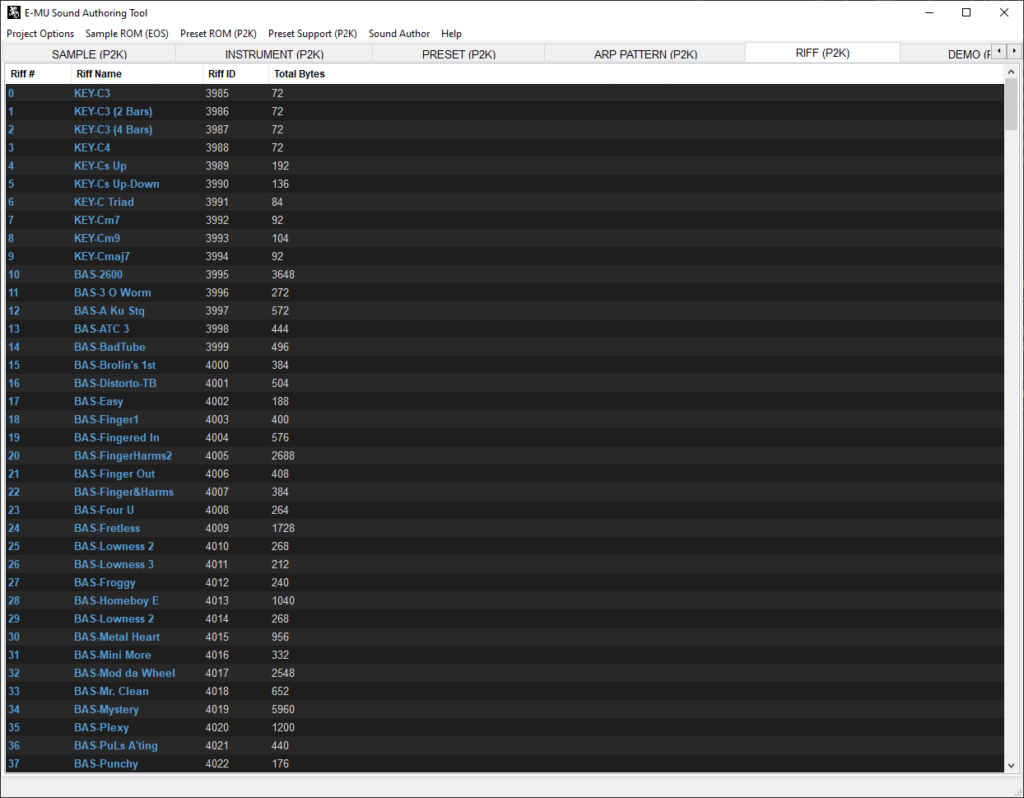
Preset ROM (P2K) – riff object detail
Workflow Example
The user interface is laid out from how the user is expected to build the objects. From left to right the flow is:
EOS: Sample ROM samples -> Sample ROM presets (optionally) -> Sample ROM file
P2K: Preset ROM samples -> Preset ROM instruments -> Preset ROM presets -> Preset ROM arps -> Preset ROM riffs
Sample ROM
Sample ROM created first, all the prep will be done in this stage as the Preset ROM uses these settings.
Step 1: Import Wav Files. Two options: one option is for one shots, and the other is for looping.
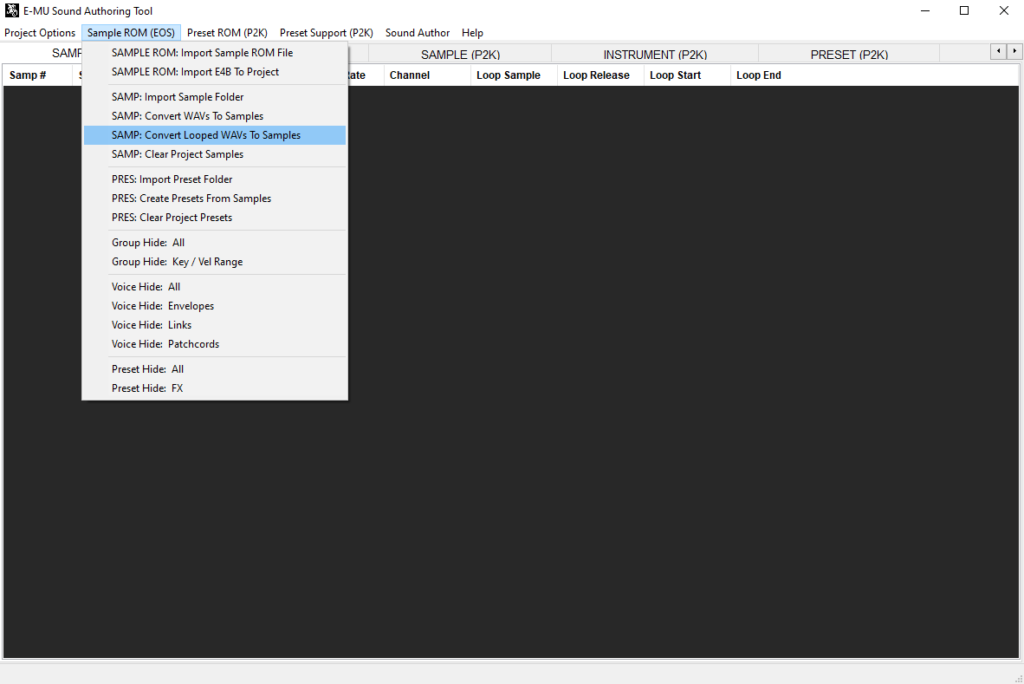
Step 2: Set name and loop points. Sample will default to start and end of sample data. Must be 16bit, mono or stereo, and at any sample rate.
Step 2A: (optional) If you plan to use an EOS sampler, you can use the samples to create EOS presets. Note: the P2K family does not read this data.
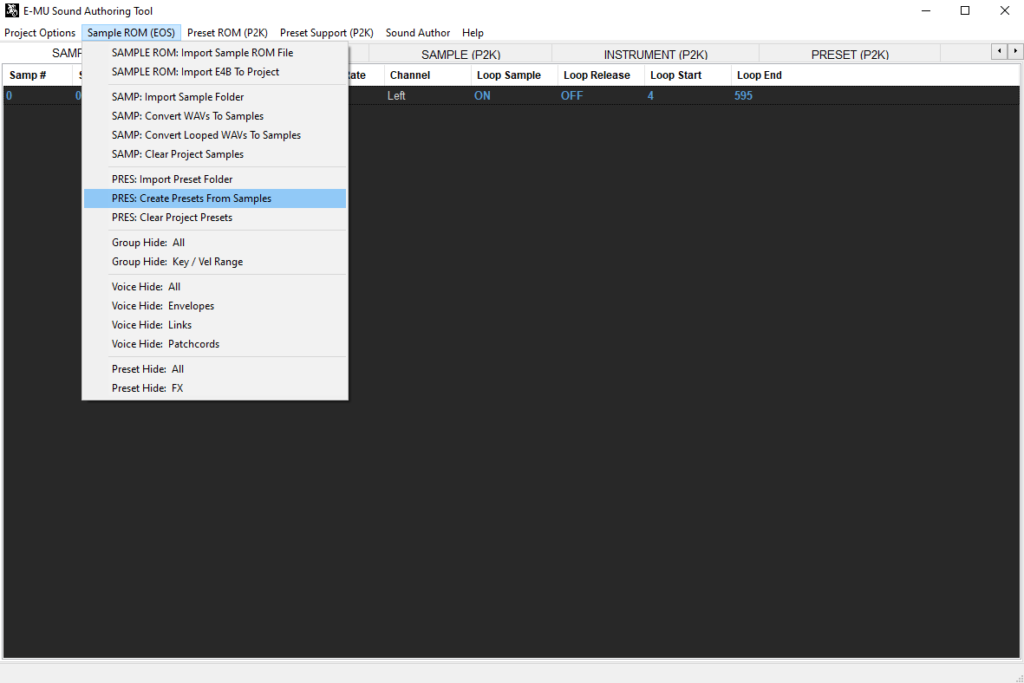
Step 2B: (optional) Edit the EOS preset content if needed.

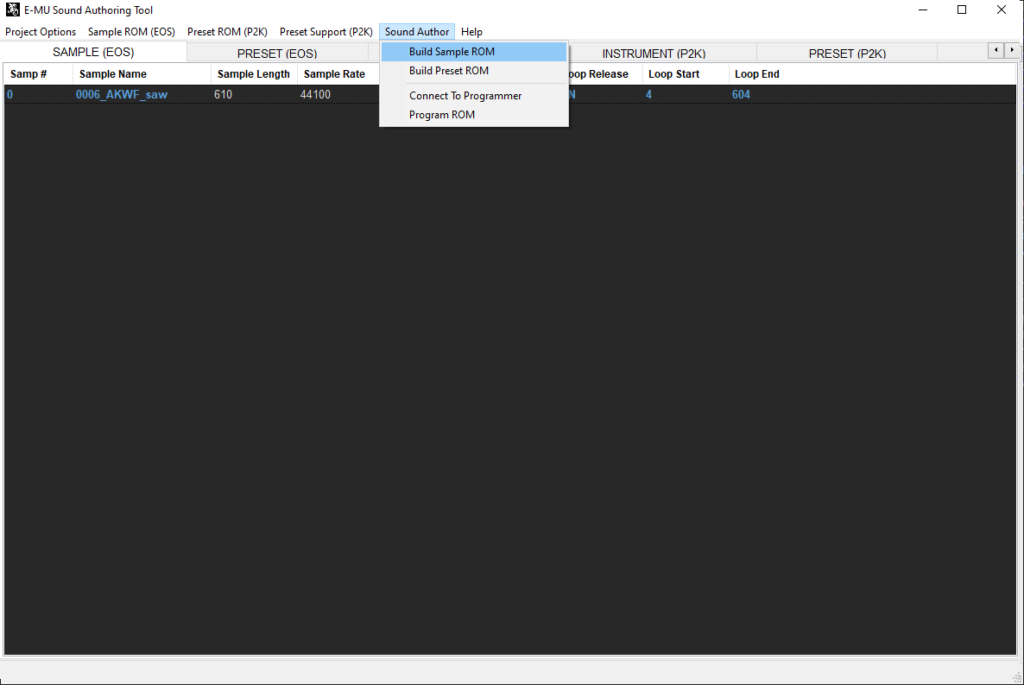
Step 3: Build Sample ROM file.
Continue to build Preset ROM if using P2K.
Preset ROM
Step 1: Using the Sample ROM samples (not the presets) that were built previously, this will create the Preset ROM samples. This might seem redundant, but the distinction here is the Preset ROM objects are put into a separate region specifically for the P2K.
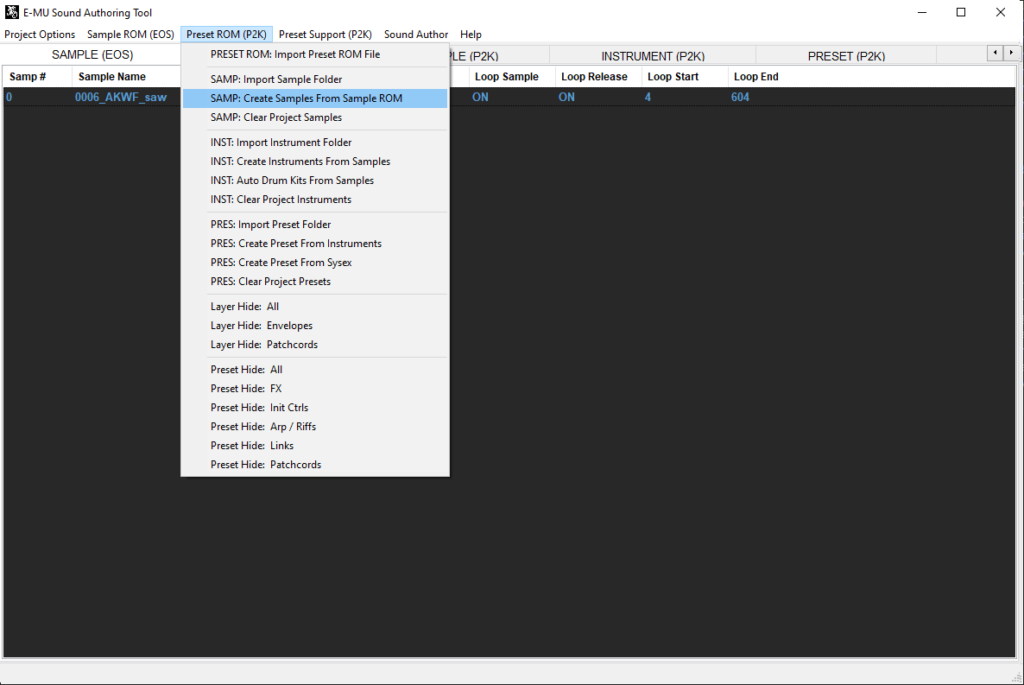
Step 2: P2K sample object created.
Step 3: A simple P2K single sample instrument will be created based on imported samples. This is the fastest way to get the instruments created. If you need Multis, Thru ROM, or Drum kits – see here.
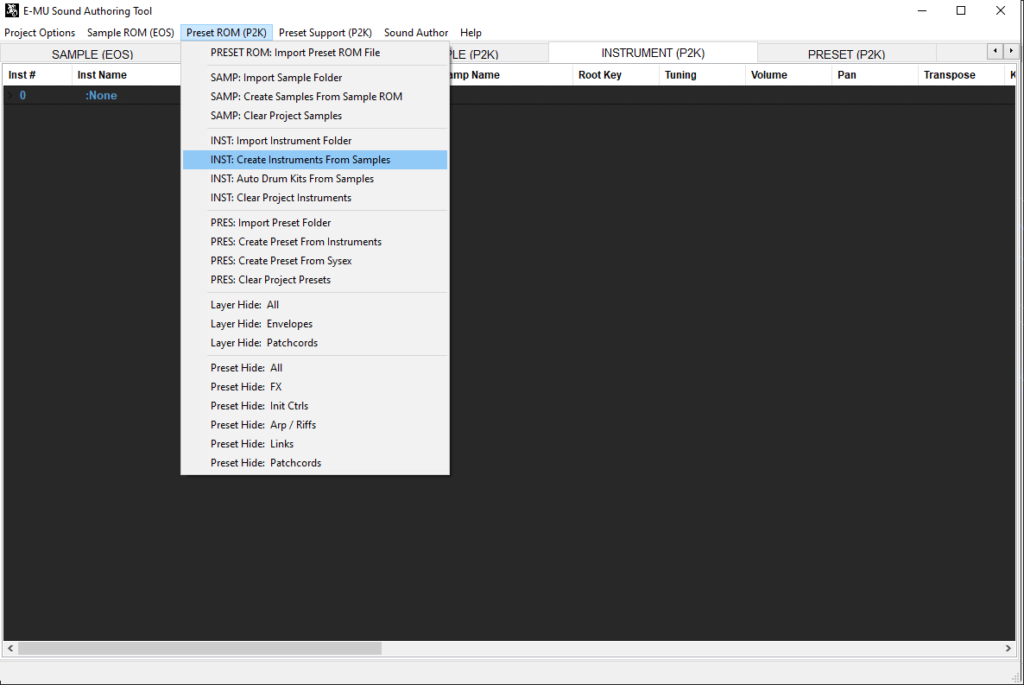
Step 4: P2K instrument object created. Edit parameters as you see fit. Note: what you choose at this stage is not editable at the preset level. Always make sure your instruments (and samples for that matter) are how you want them, before editing anything at the preset level.
Step 5: A simple P2K single instrument preset will be created based on instruments selected.
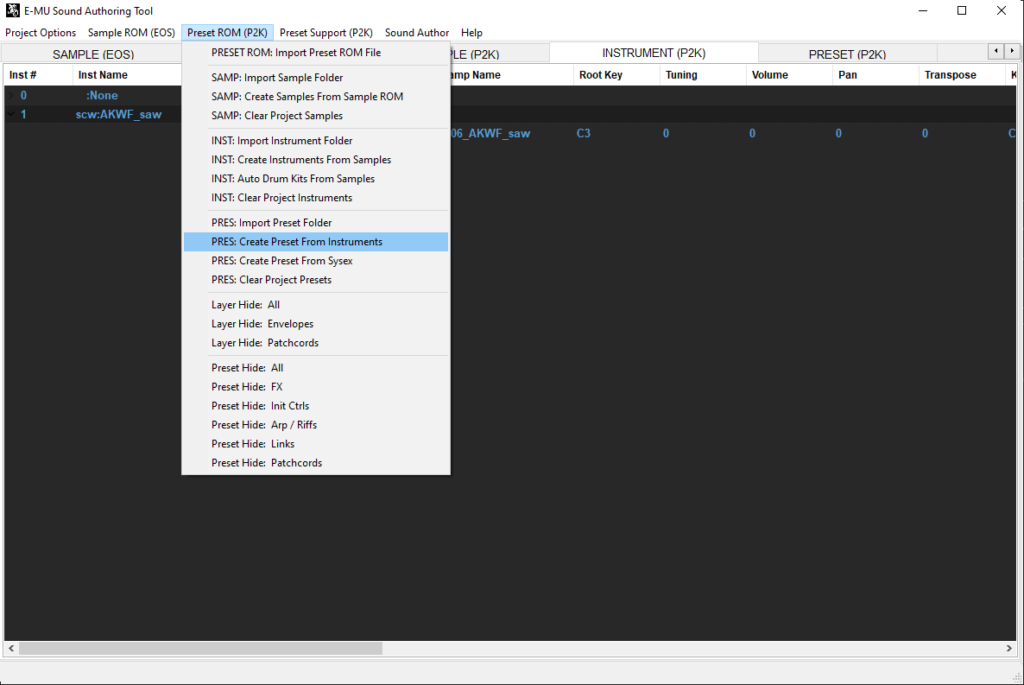
Step 6: P2K single instrument presets will be created for every instrument created on previous step.
Step 7: Build P2K preset ROM file. Once complete, connect to the sound authoring programmer.
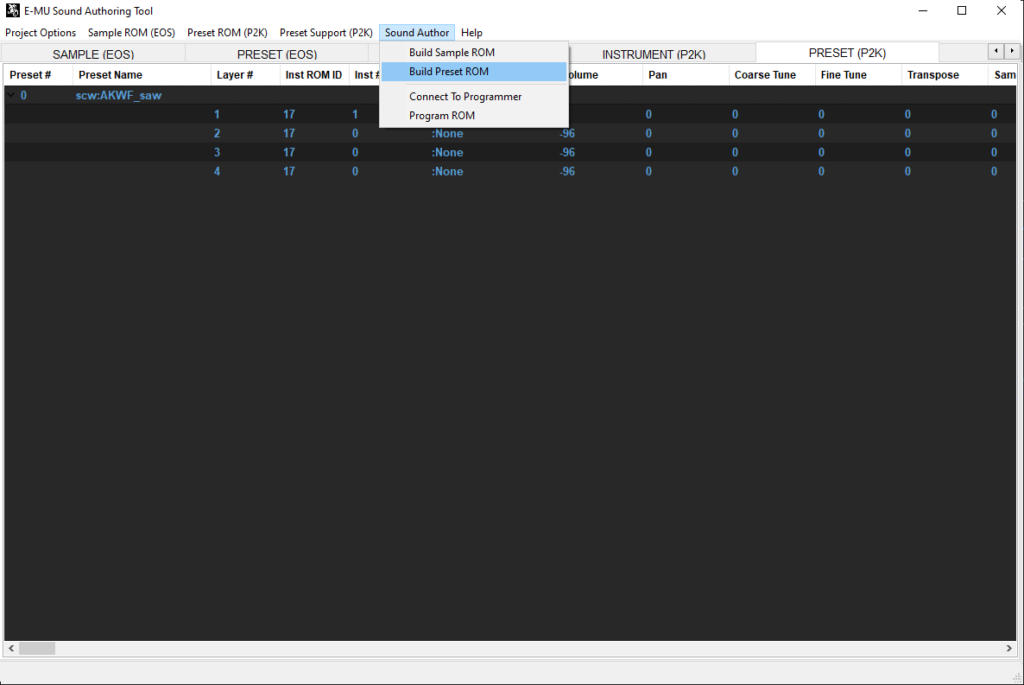
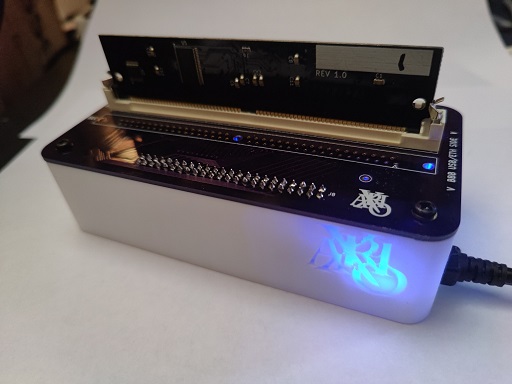
Step 8: Insert the ROM SIMM media into the ROM programmer tool. Select Program ROM with the Sample and Preset ROM image files you just created. When operation completes, remove and install into your EOS or P2K device. La fin!
Feature Highlights
- Single select, multiple select, and select all supported
- Copy, paste, and delete using standard key binding
- Drag and drop move any object or move with row index edit
- Preset sysex import
- Arpeggiator sysex import
- E4B file import – will create EOS samples and presets
- Fast Multi and Drum instrument create
- MIDI files to Riff objects
- Thru ROM Support (experimental)
Feature Snapshots
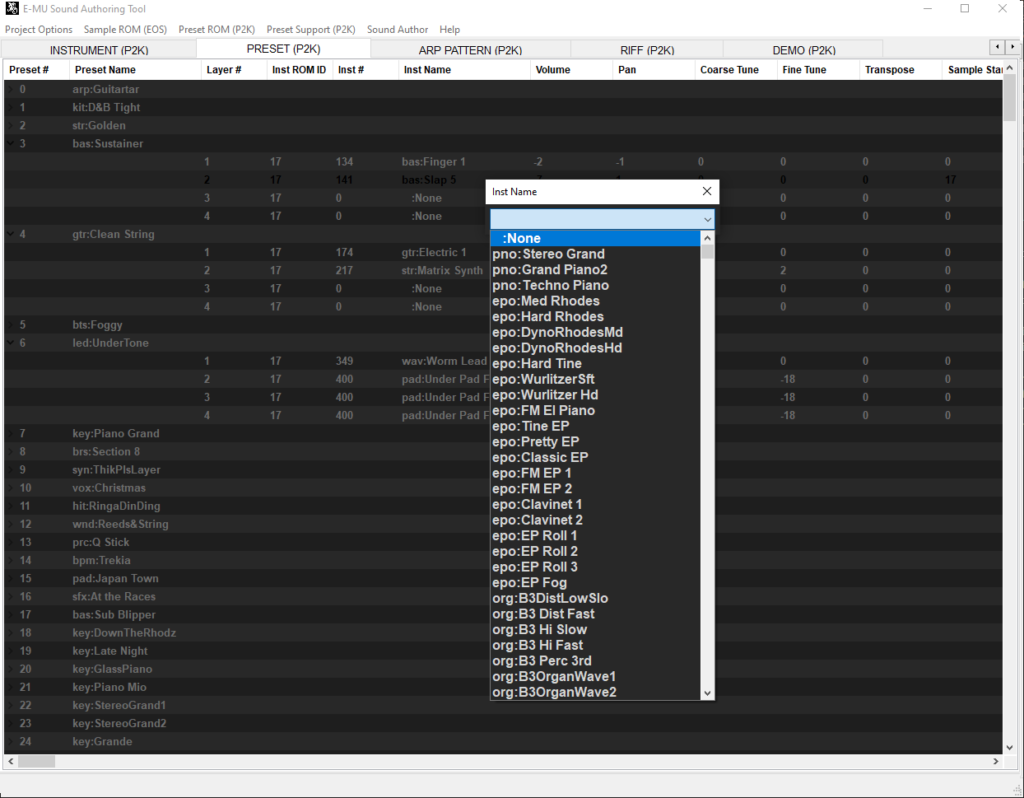
Selecting new instrument on a single layer.
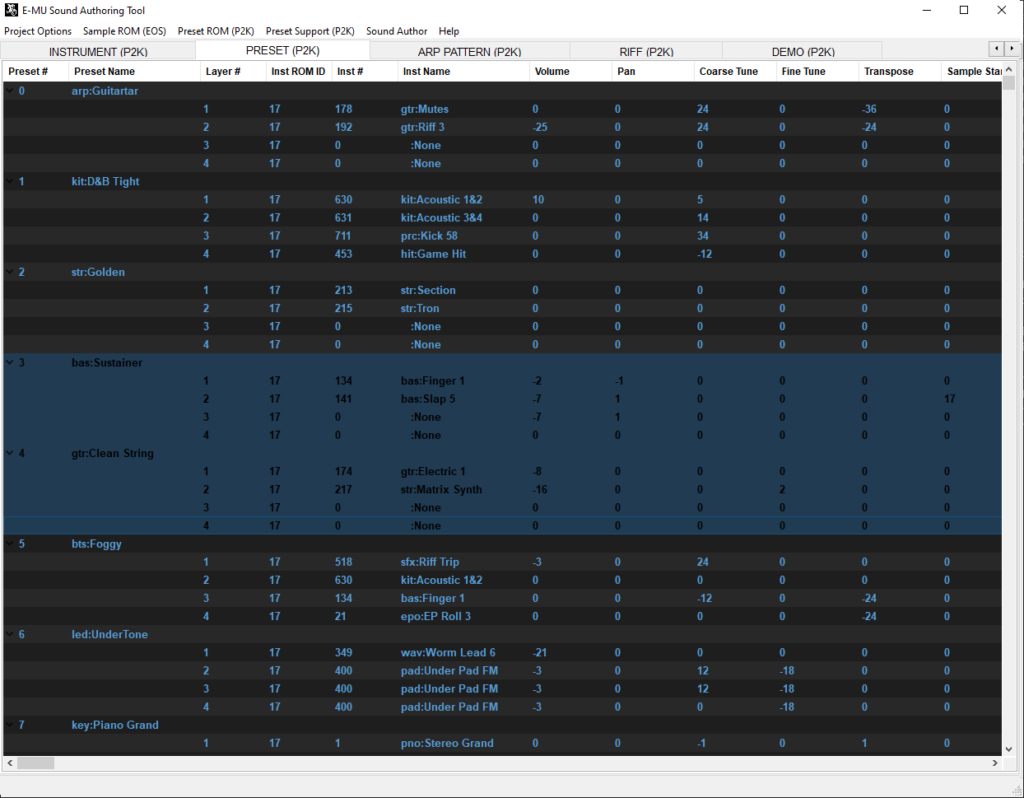
Multi select on two presets.
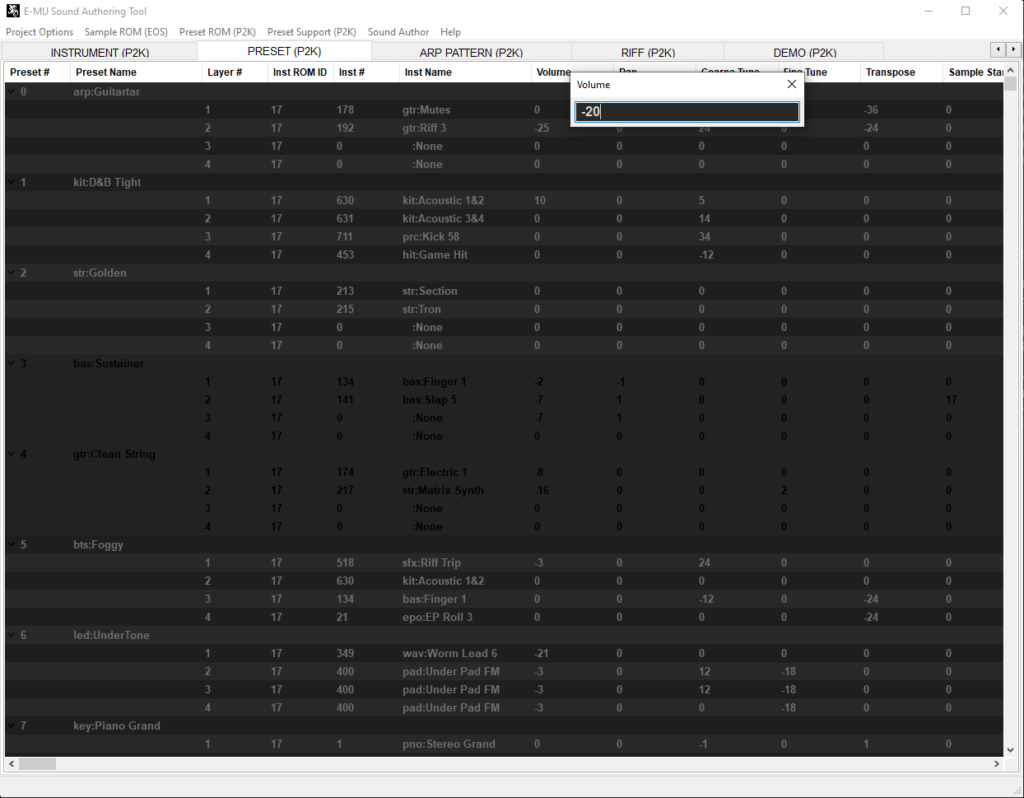
Editing volume on selected layers only.
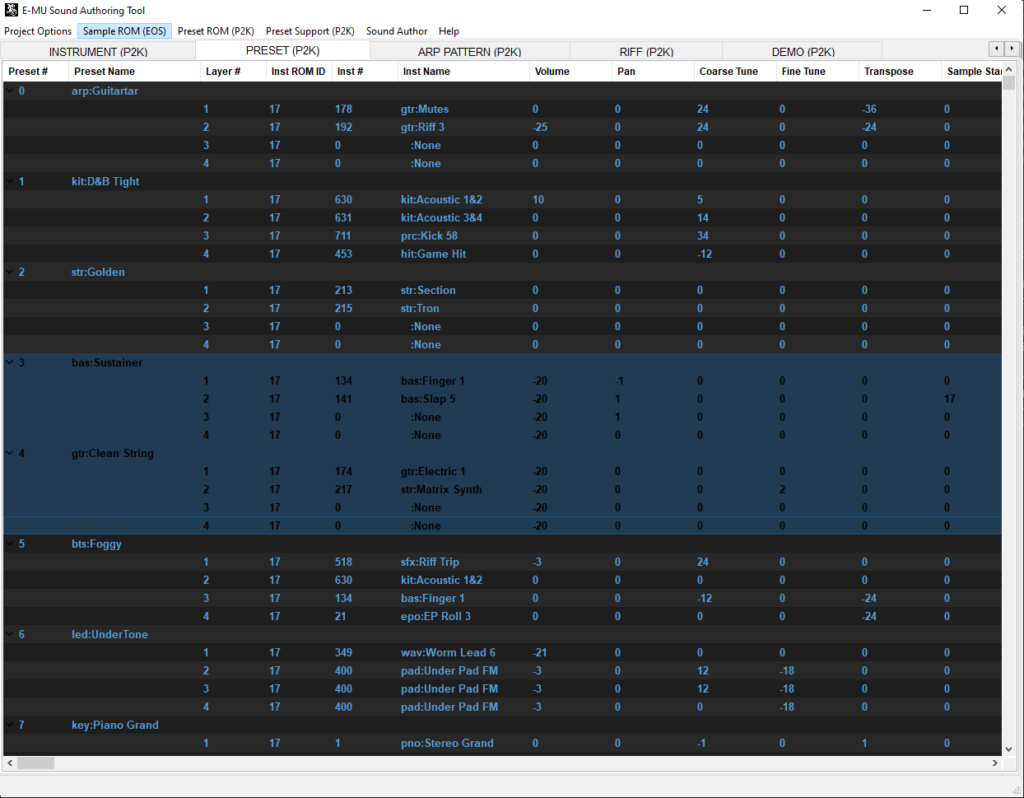
Layers with volume edited.
Multi select at preset level.
Deleted selected presets.
Multi select samples and right click menu to make a Multi, Drum Kit, or Thru ROM instrument.
Multi creation will still require user input to fix root key and key range. This option sets up the instrument parts only.
Drum kits pin a sample to a single key.
Thru ROM instruments created.
Thru ROM “sample” created. Play through endpoints can be changed with “Play Thru Start” and “Play Thru End” parameters (aka the sample numbers to play through).